Photo Library Management
25 Sep 2015
Managing our Ever-Increasing Photo Libraries
I’ve had a number of conversations with photographers recently about managing large photo libraries and it seems a lot of people struggle to find the best route forward when their library becomes too large to house on one hard disk. This seems to be an increasing trend as the shift away from traditional PC’s, which can house multiple hard disks, towards all in one machines and laptops, may of which favour faster SSD’s or SSHD’s with less storage space. Couple this with higher megapixel images generating larger RAW files and space something we need more of,
I found myself in this situation a few years ago, running a four year old iMac with a 2TB hard disk and a library pushing my disk capacity to 90%. I found myself getting more and more ruthless, deleting RAW files I didn’t need, while the performance of my mac got worse each time I imported images.
One option was to buy a larger hard disk and fit this and buy some more time, but at the time a 4TB was the only better option and still pretty pricey and by my estimate only bought me another year or so before I was in the same situation. I would have also needed to buy 2 4TB external hard disk to backup onto (one on and one offsite, rotated) making it quite an outlay.
Another easy option, is to simply connect a large USB, firewire or thunderbolt disk, until that is full and then add another, but of course there are some down sides, which put me off. It’s a fairly ugly way of doing it and the extra cables are quite honestly a bit of a pain. Bear in mind, that you would (or should, at least) already have one external hard disk connected, to back up the main hard disk inside your computer (such as a time machine for Mac). You then add your new hard disk for photos and ANOTHER to back that up onto makes three. Not much fun. Nor is having to devise a system to actually back up the photo disk to it’s backup.
I ruled that system out too.
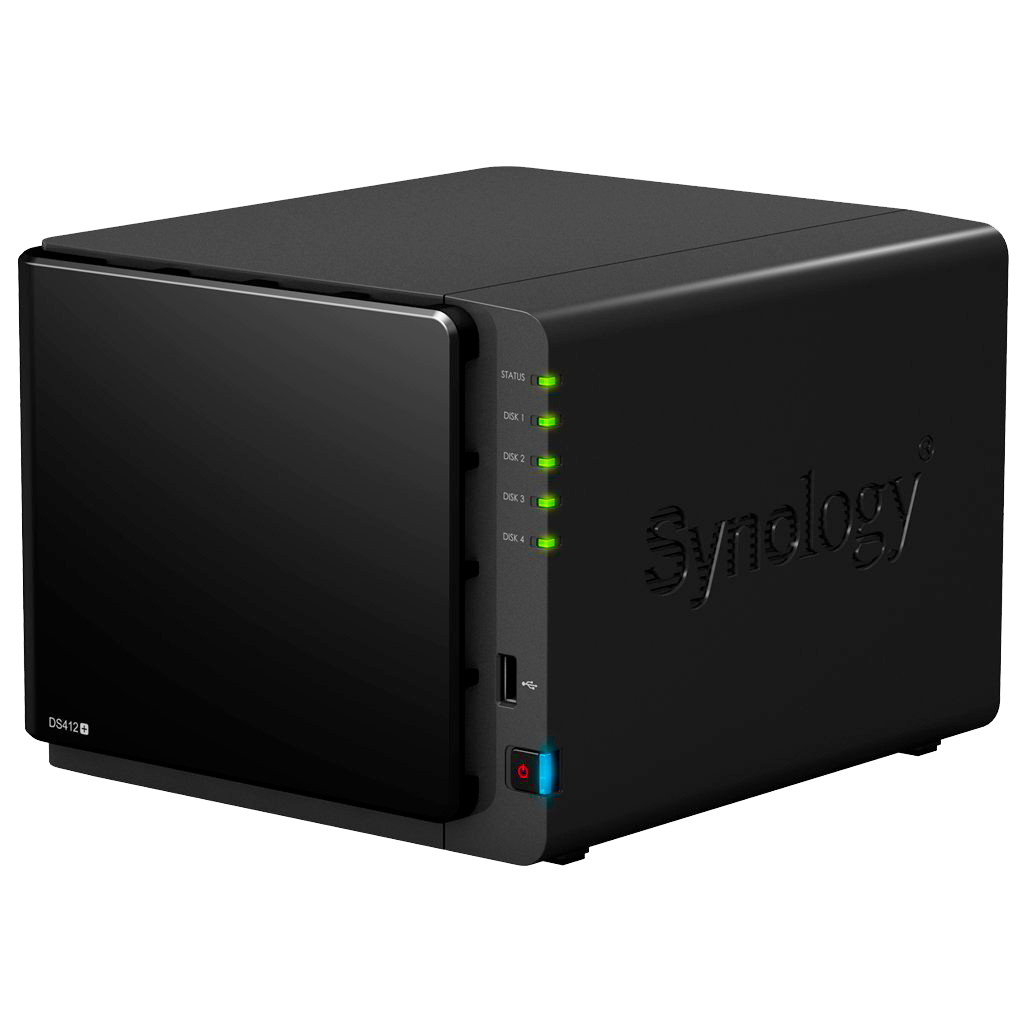
I opted for a NAS (network attached storage) device. I was already familiar with Synology as I had installed several for clients while I was working in IT. I plumped for a 4 bay 16TB model, to give myself plenty of breathing space.
In layman’s terms, this means I have a box with 4 hard disks in it of 4TB each. The Synology Diskstation is plugged into my router and appears on my network. It’s all configured through a web browser interface (called DSM manager) and it very straightforward.
To over-simplify this, we format the disk and configure a RAID, add a user (or users), we create shared folders (which then show up as external devices) where we store our data.
RAID’s can be set up in a variety of ways, for speed, or for data protection. I have set mine up as a RAID5, which means I have around 11.5TB of actual useable space, but more importantly, it means that if one of my 4 disks fails, ALL of my data is safe on the other 3. Should that happen you simply fit a replacement and the diskstation then rebuilds the RAID and copies it’s data back to the replacement on it’s own.
The creating of users allows us to assign permissions to specific folders. You’ll need at least one username (and password) but could for example create them for other family members and limit their access to your folders but create them their own folders. Incidentally, I used the same username and password as my Mac Administrative to simplify this, and also had the mac remember it. You can also set size restrictions if you want to make sure they don’t fill up your server! Here is a video showing how we create users and shared folders. The video shows the files being accessed from WITHIN the DSM file manager, but these are accessed normally from Windows Explorer or Mac Finder in the same way as any other folder.
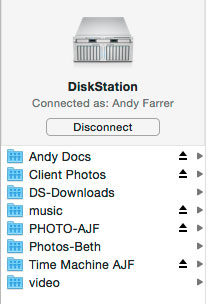
Each folder you create as a shared folder from the Diskstation manager will show up like a disk in finder or windows explorer and you then add subfolders in the normal way.
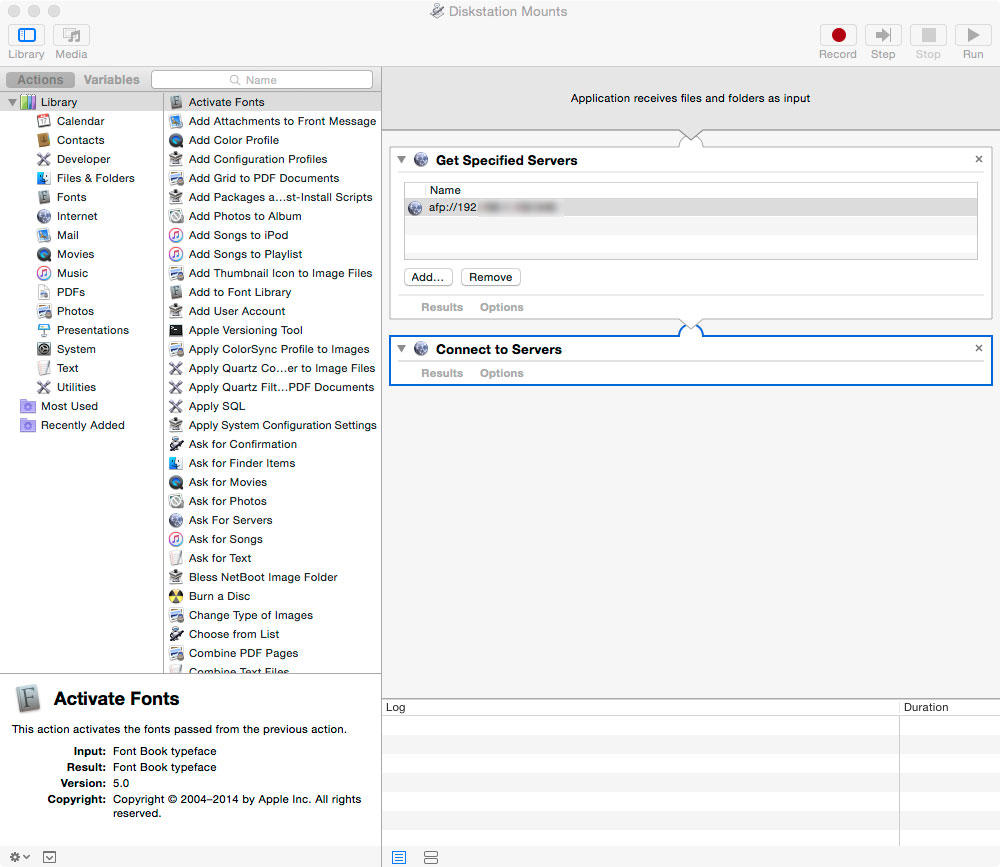
To save having to manually connect these folders each time I reboot, I created a simple automator script which runs at login on my mac which connects them for me.
Migrating your data onto your new NAS drive.
If you’re using Lightroom, you’ll want to move the images from your current internal hard disk to the folder on your new NAS drive from within Lightroom. This Adobe video shows exactly how to do this. Don’t fiddle in finder or explorer to avoid Lightroom losing track of where your images are!
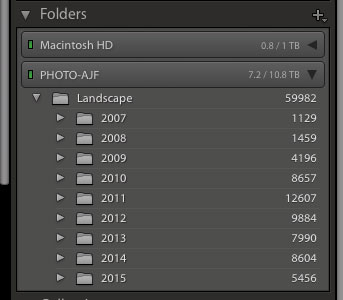
Once you have the new destination visible in Lightroom, as shown in the video, it will appear as below. Each connected folder will have a green light to show it's connected. If it's not green, you'll need to mount ti in finder or explorer first by connecting to it.
Then it's a simple matter of dragging and dropping. If you're moving a large folder or folder with a lot of subfolders and images, be aware this may take some considerable about of time.
Backing up your server
Despite having data nicely backed up with a RAID, it’s also essential to have at least one off site backup. The Synology offers several ways of doing this.
USB
Within DSM manager you can set up backup plans to backup to USB drives which connect the USB ports on the Diskstation. This provide incremental backups of whichever folders you set up. Alternatively, you could simply plug in a USB drive to your Mac or PC and copy the data.
Off site backups (cloud based)
You can install "Cloud Sync" in the DSM manager, from the Package Centre, and configure that to a number of services such as Dropbox, Google Drive and the one I use, Amazon Cloud Drive. (more on Amazon Cloud Drive below)
Sync to another Synology
You can also easily have two Diskstations Sync together, should you feel flush enough to buy two, then locate one on another premises.
Amazon Cloud Drive
As part of Amazon Prime membership, Amazon are now offering unlimited photo storage. It supports major RAW file formats, tiffs and psd's. I think there is a 2GB file limit but for the £70 Prime membership cost is a great consideration. I decided to cancel my Netflix membership, which covers the cost of Prime, give me Prime Video and effectively give me cloud backups of my library for nothing.
One of the great features of the Diskstation is that it will automatically sync my folders for me when I import new files. It's great not having to have my mac powered on with a desktop client running slowing down my work.
Obviously you'll need a decent broadband/fibre connection in order for a cloud based backup strategy to be workable, as pushing up large amounts of data can be a slow process. Once it has synced however, it shouldn't be too much of a problem for new files to be synced, so you could always consider plugging in the Diskstation somewhere where you have access to a faster connection for that first big sync.
Other Considerations and Notes
Data transfer rates are best when connected to a gigabit network. You'll want to hard wire your computer and the Diskstation with ethernet cables. I upgraded my ISP supplied router with a TP-Link N600 and have no trouble with Lightroom rendering 1:1 previews with very little noticeable lag at all.
Diskstations are available ready to use WITH hard drives installed, or as empty units, for you to install separately.
From personal experience I fitted mine with Seagate Server grade hard drives as I have had trouble with Western Digital drives several times in the past.
It is sensible to order a spare identical drive, in case of failure.
Lightroom Catalogues should be stored on your INTERNAL hard disk, and NOT located on a shared folder. It's a good idea though, to set up a folder for Lightroom Backups ON the Diskstation, so that these are on a safe RAID volume. This destination can be configured in "Catalogue Settings". You can periodically delete older catalogue backups to save space.
In Conclusion
Admittedly, this is not a particularly cheap route to go in terms of initial outlay, but it buys an awful lot of time, particularly if more than one family member can utilise the shared space.
Two bay Diskatstaions are available as a cheaper alternative and can be set up as RAID1 (mirroring) or you could install 2 drives into a 4 bay unit and add 2 more at a later date. You can add drives to a volume and switch from RAID1 to RAID5 without losing data.